Back to the Grindstone; The Complicated Art of Lithography
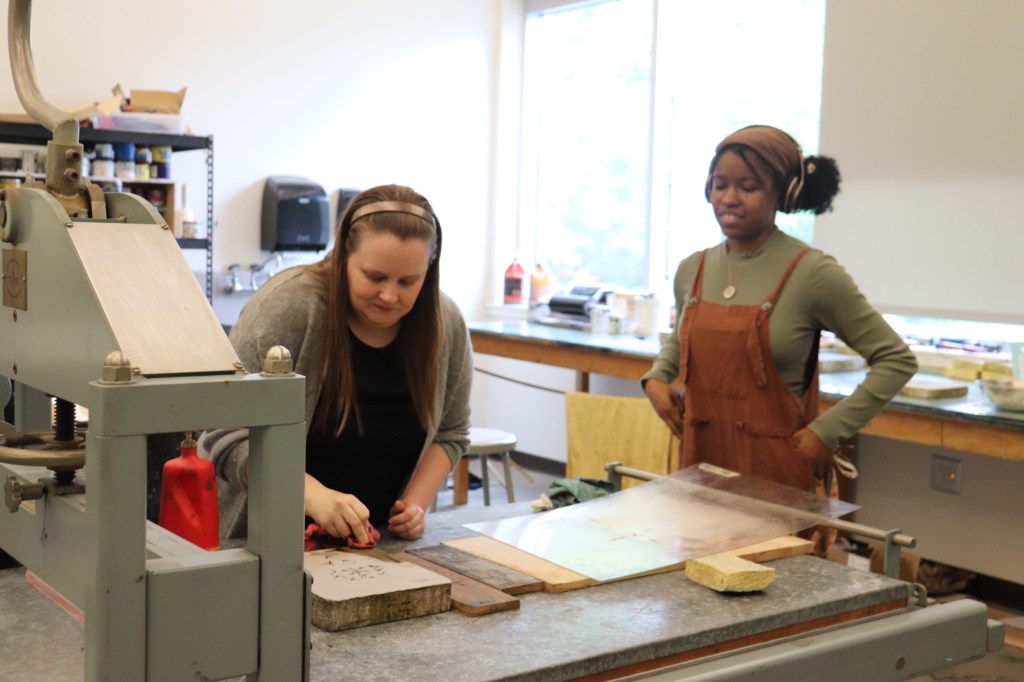
Lithography is a printmaking process that we used in our final project in our special topics printmaking class. Primarily featured in this photo story is Imani Spence, senior art major. Our class consists of only three students, and a lot of the work had to be done outside of class, so some aspects are not shown; this was both to keep this from being too long, and because several steps require multiple people, so as I was helping my classmates I couldn’t take photos.
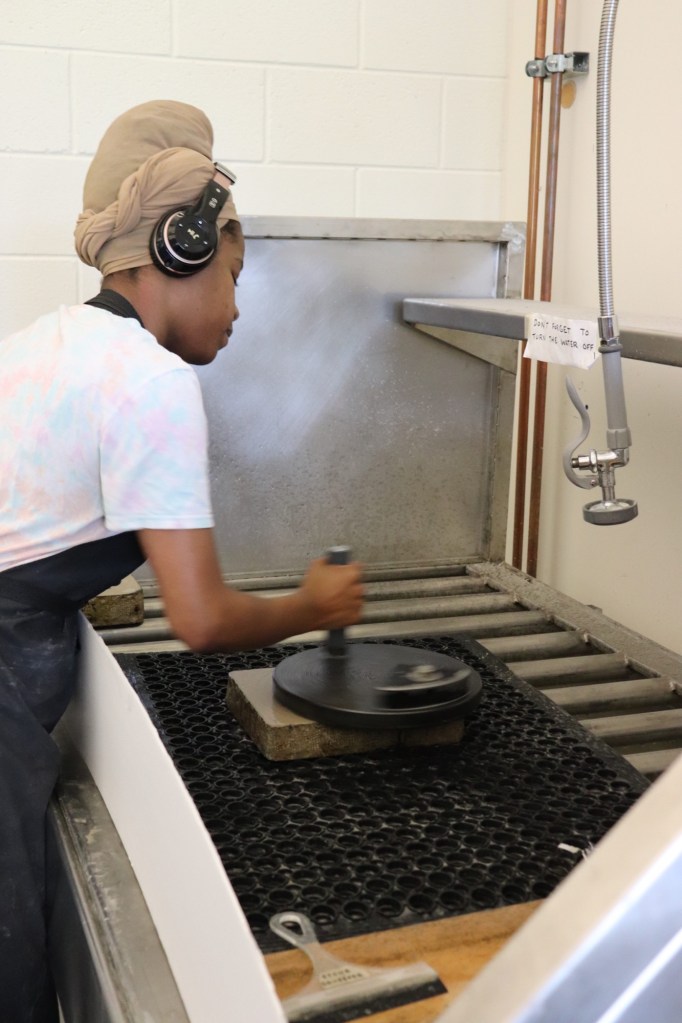
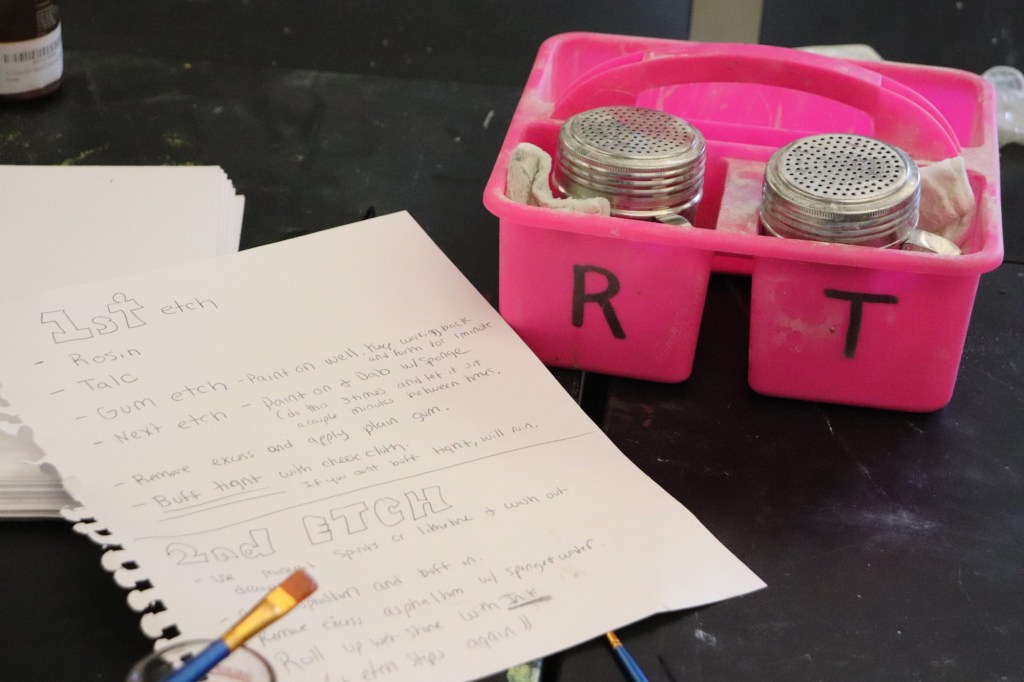
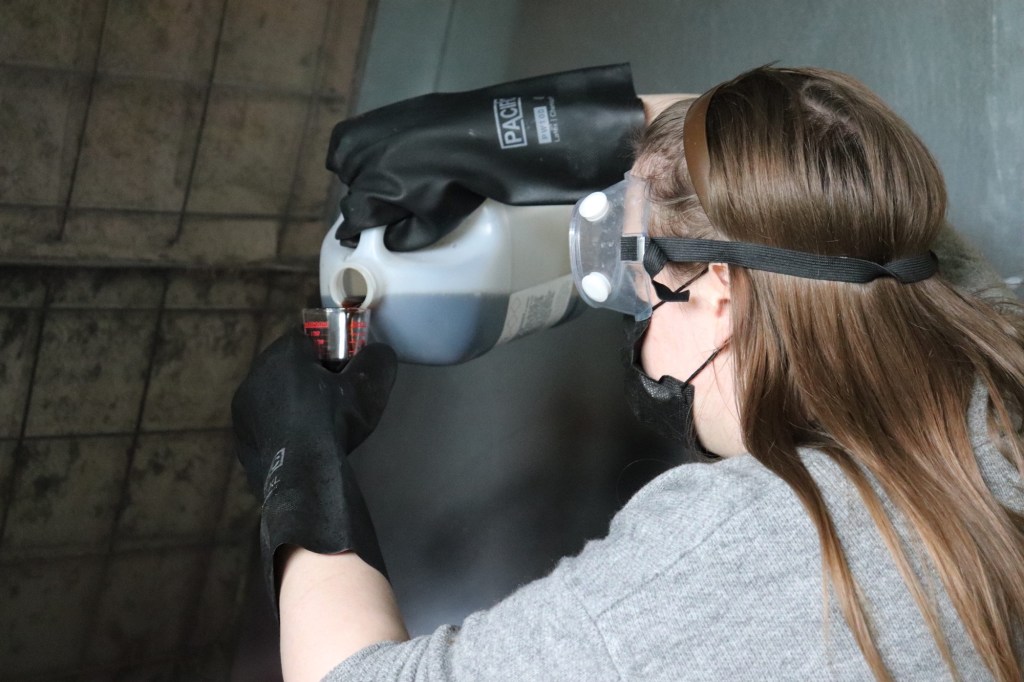
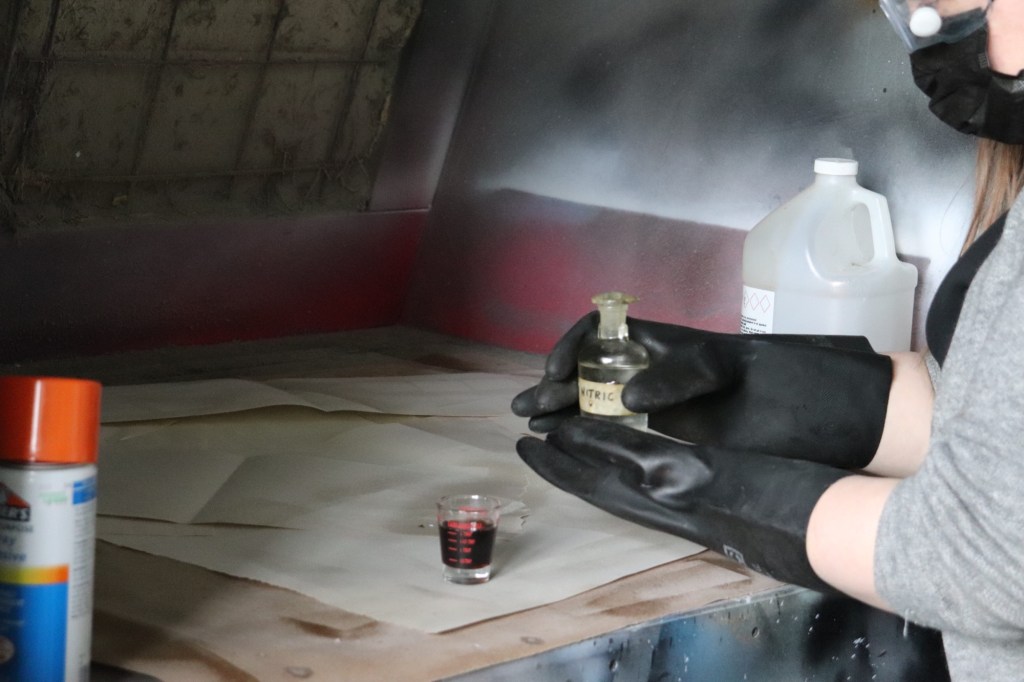
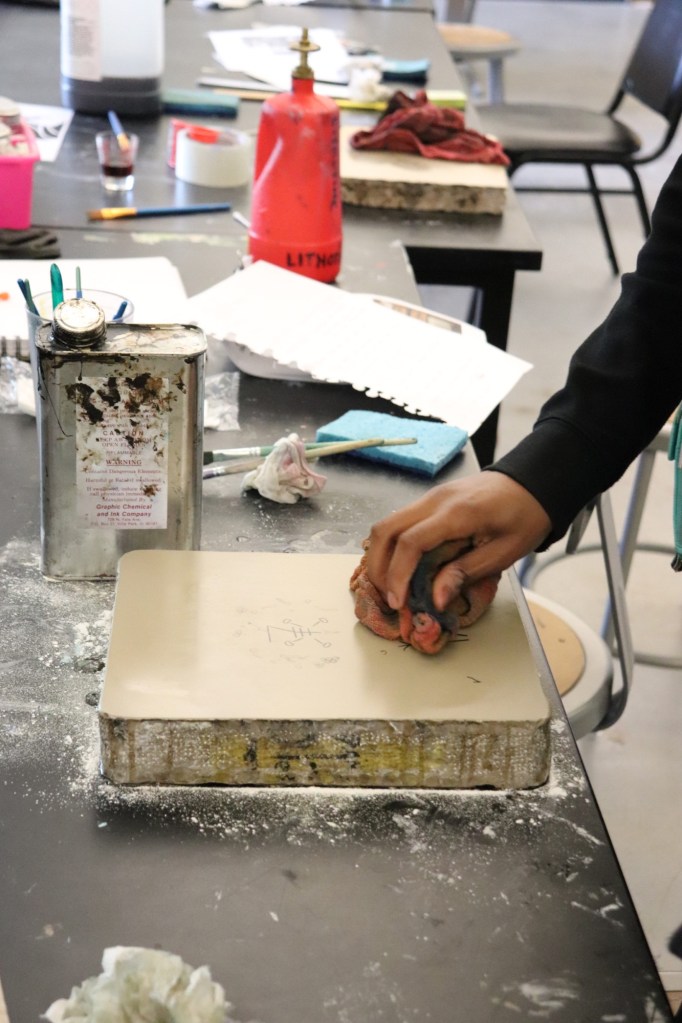
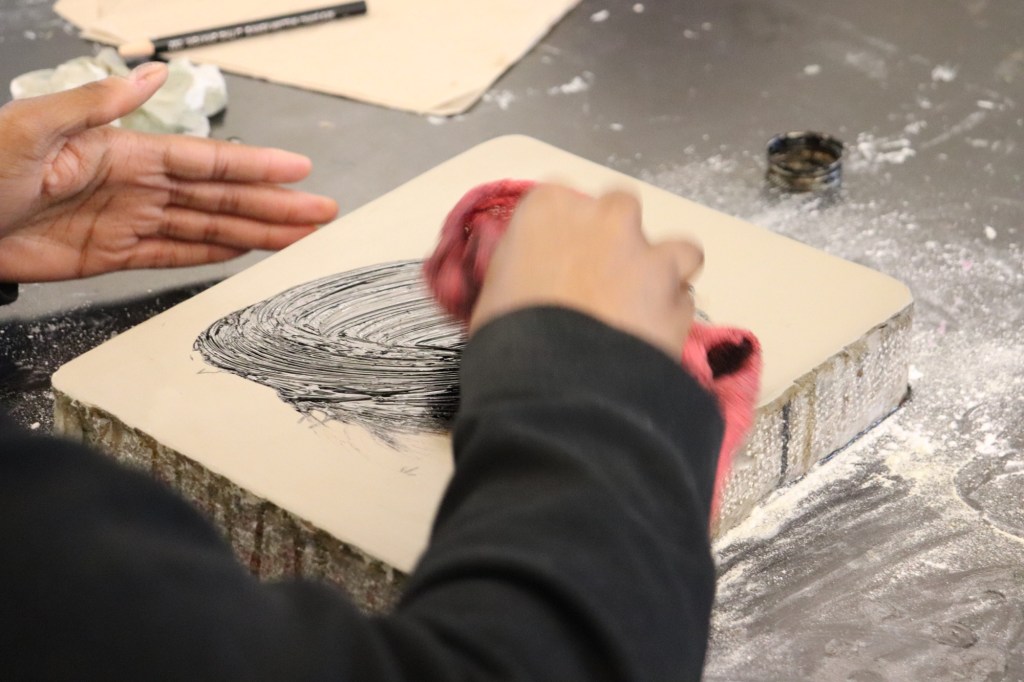
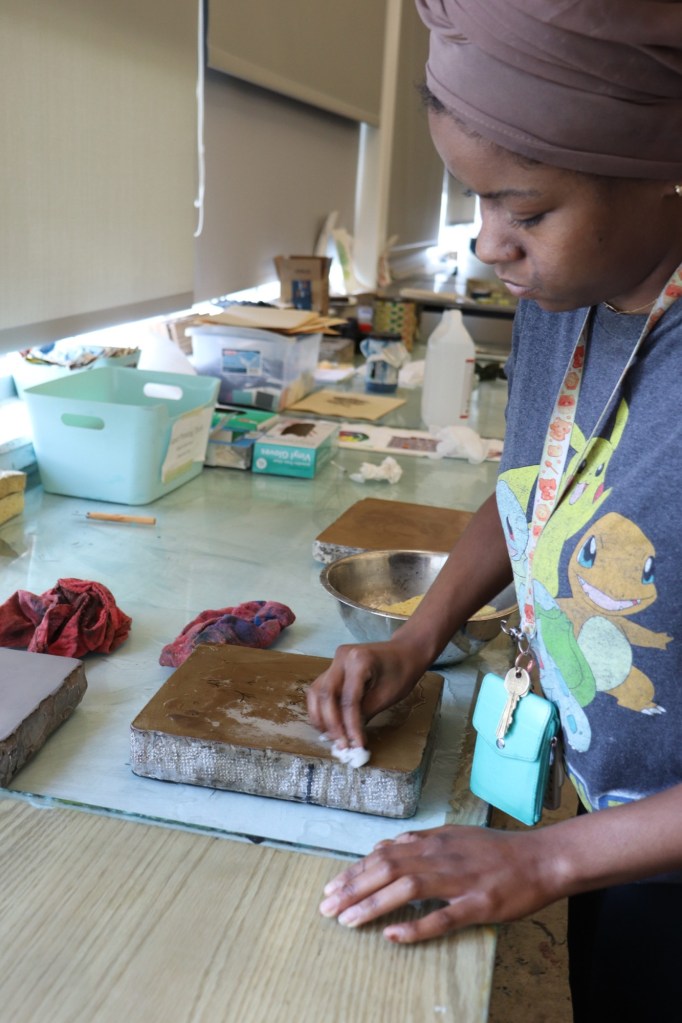
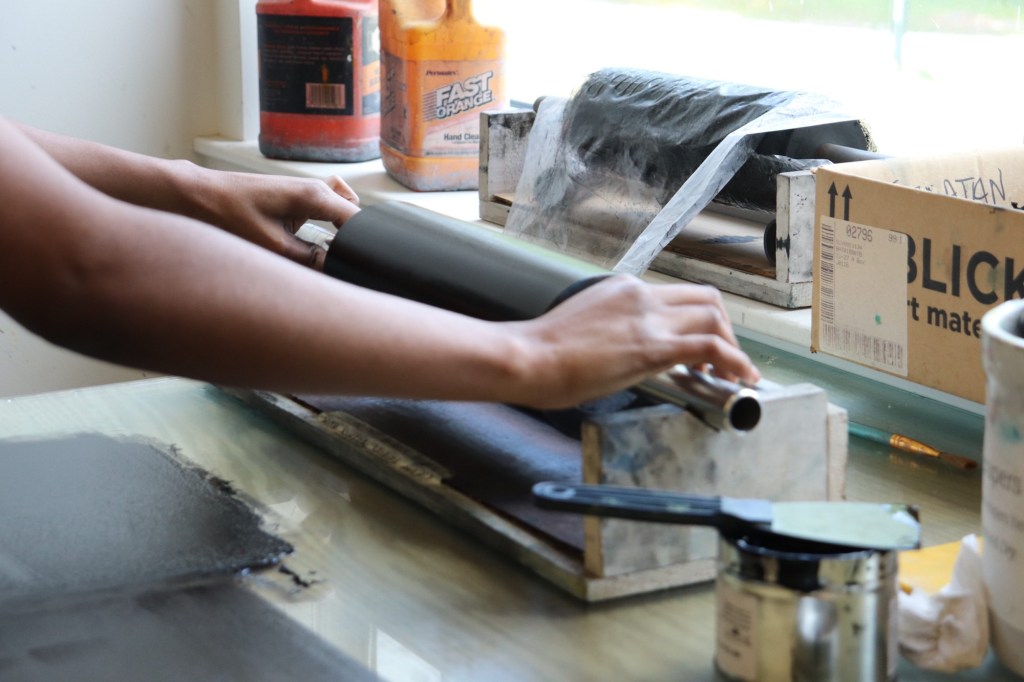
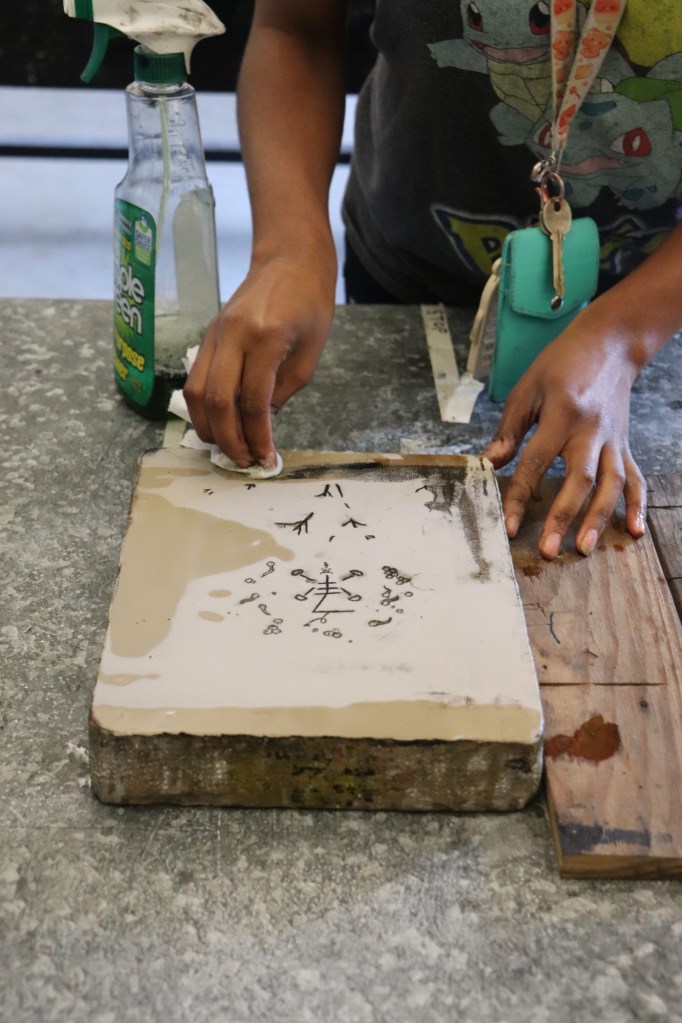
Levigating is the first step of the Lithography printmaking process. Levigation is the process of grinding down the litho stone. To grind it, you have to go through 5-6 stages of spinning a heavy levigator against the stone, using abrasive grit, ranging from 80-200 grit, until it is polished and level. To etch in the image you would like to print, you would first draw the image you would like on the stone using grease pencils, or transferring a printed image with acetone. Once the image is on the stone, you begin the etching process, pictured above. To protect the image from smudging, first you would apply Rosin and Talcom powder.Gum Arabic is a chemical that is used during the etching process. While this chemical is not dangerous, protective gear must be worn for the following step.This step must be done by a professional; three drops of nitric acid are added to a glass of Gum Arabic, which will be used for etching. Nitric acid is deadly on its own, but when combined with gum arabic, which is a base, this neutralizes the acid and makes it safe to use for etching.Etching can now begin, which involves three rounds of painting the mixture on areas that will be etched, then letting it sit, and dabbing the stone to even out the etch. Then, you buff in the chemical with cheese cloth to make sure the print keeps its detail. One finished, you should leave it out for around eight hours to fully etch.After a night of etching, you can begin the second etch. First, you rub in lithotine, which removes most ink on the rock. Then, buff in asphaltum, which is also used in asphalt. This also removes any stubborn left over ink.Next, the asphaltum has to be washed off and cleaned. To show what has been etched and what needs to be cleaned up, you then roll up a special roller with ink, and cover the stone. Once you see what has been etched, you can clean off the ink that you don’t want printed. Then you have to do the etching process all over again, so that the surface holds more ink.This process is extremely time consuming and complicated, and many things can go wrong along the way. Even a slight mistake can affect your final print, and sometimes things go wrong in ways you can’t control. Having a helpful professor like Drema to problem solve when things don’t go as planned is vital.